<sigh>
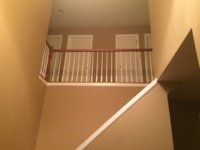
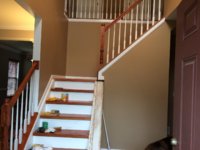
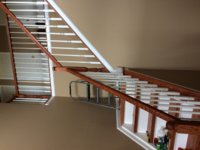
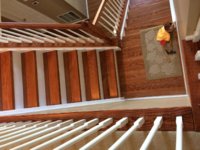
Finally done with these things, including touch up. They were originally carpeted stairs with standard construction tread and combination skirt/stingers. I got tired of the dock lick, paw dirt, and other stuff, so I decided to put in hardwood treads and riser veneers, but then I realized how shitty the original stairs were and that added to more work. I think total I have around $200 to $300 in materials.
So, I:
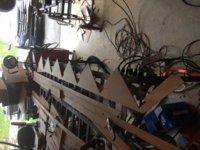
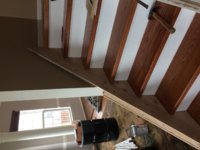
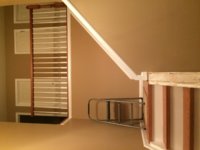
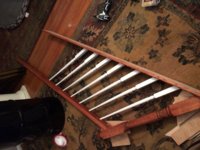
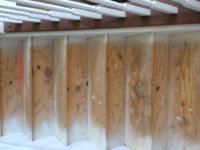
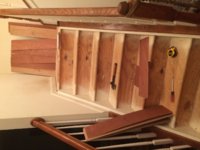
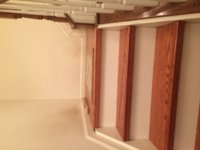
- Demo'd the carpet and did some investigative demo on the existing treads to determine the extent of the framing.
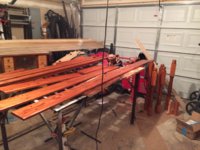
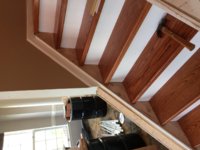
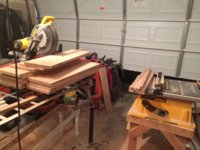
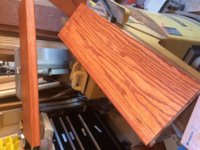
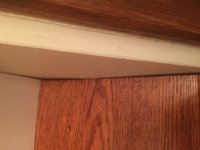
- Made oak treads with a 1-1/2" nosing.
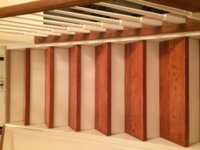
- Made riser veneers out of lauan ply.
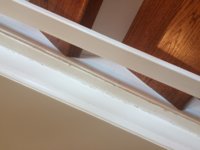
- Scribed skirts to cover the gap between the threads and the shitty/cupped stingers.
- Made corner mould to cover the top of the lauan.
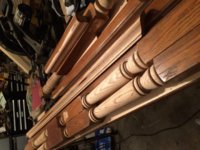
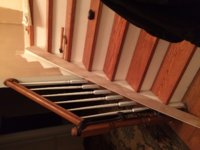
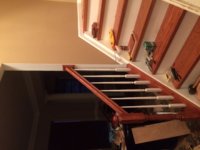
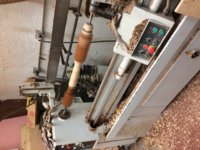
- Resurfaced the newels on a lathe, the rails on a shaper and the sole plates on a 36" belt sander. There's a planing mill an hour from my house that is run by a Mennonite family. They have a great selection of wood species for a good price and excellent machinery. For a small fee, I was able to use their machinery to resurface the newels and rails. I could have resurfaced the sole plate at home, but since they had a big belt sander.....
Attachments
-
 (1) Demo Work.JPG232.4 KB · Views: 10
 -
 (2) Demo Work.JPG310.3 KB · Views: 10
 -
 (3) Tread Materials Cut.JPG292.7 KB · Views: 11
 -
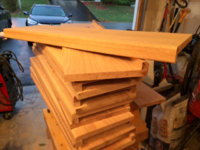 (4) Treads Made.JPG291.7 KB · Views: 10
 -
 (5) Treads Stained.JPG374.3 KB · Views: 10
 -
 (6) Riser Veneers Cut.JPG263.4 KB · Views: 10
 -
 (7) Riser Veneers and Treads Installed.JPG233.2 KB · Views: 10
 -
 (8) Landing Flooring Cut Stained and Installed.JPG228.1 KB · Views: 10
 -
 (9) Tread Gaps.JPG268.6 KB · Views: 10
 -
 (10) Refinishing.JPG486.2 KB · Views: 10